


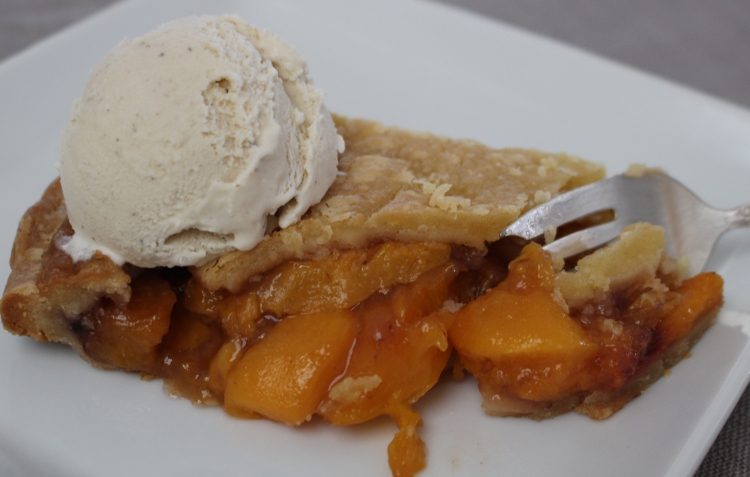
It was impossible to decide whether to buy nectarines or peaches at the Farmers Market several weeks ago, as both were so incredibly sweet, juicy, and flavorful. So I bought some of each, and made a fabulous pie with them! Nectarines have a little more natural acidity than peaches, whereas ripe peaches are full-on sweet. By using three of each, the balance was perfect. Feel free to use all peaches or all nectarines; there’s no right or wrong no matter the combination. The only detail to consider is whether you’re going to peel the nectarines along with the peaches. And again, it’s your choice. I peeled mine as it was later in the season and the skins were a little tough.
A couple of comments about ingredients. I’ve cut the sugar in the pie by about a 1/4 cup and it was perfectly sweet by my standards. If your fruit isn’t super sweet, add the full 1/2 cup each of white and brown sugars. If you prefer a full cup of one or the other, that’s fine as well. I also used tapioca starch instead of corn starch in my pie. I’ve provided both options and you may decide which you would prefer. I don’t have a photo of the full pie as I made it the day I had guests and I’ve found it’s all but impossible to take pictures as well as cook and serve food when I have visitors. Nevertheless, as most of you have seen lots of pies, you didn’t miss much. What I can tell you is that my sister-in-law waxed eloquent over the crust. It’s the Queen’s Pie Crust that I always use, but the trick is the flour. I bake gluten-free because of family allergies and intolerance to wheat. I use a blend of King Arthur Flour’s 1-to-1 and Bob’s Red Mill’s 1-to-1, meaning you can do a direct switch out using either flour with regular wheat flour. You are welcome to use your usual pie crust instead of mine. If you have lots of fruit, bake extras and freeze them. They’ll keep well for a few months. They’re so delicious!
PrintA luscious fruit pie whether you use just peaches or just nectarines, but combining both at their peak ripeness, is sensational.
Pie Crust
8 ounces cream cheese, room temperature, cut into 8 pieces
8 ounces (1 cup or 2 cubes) unsalted butter, room temperature cut into 12 to 16 pieces
2–1/2 cups unbleached white flour
1/4 teaspoon salt (optional)
Extra flour for rolling out crust
Rain’s Choice Vanilla Sugar
Filling
5 – 6 Large peaches, yellow nectarines or both
1 teaspoon Rain’s Choice Vanilla extract|
1–1/2 tablespoons lemon juice
3 tablespoons cornstarch or 5 tablespoons tapioca flour
1/2 cup white sugar
1/2 cup light brown sugar
1/4 – 1/2 teaspoon cinnamon (your choice)
1/2 teaspoon allspice
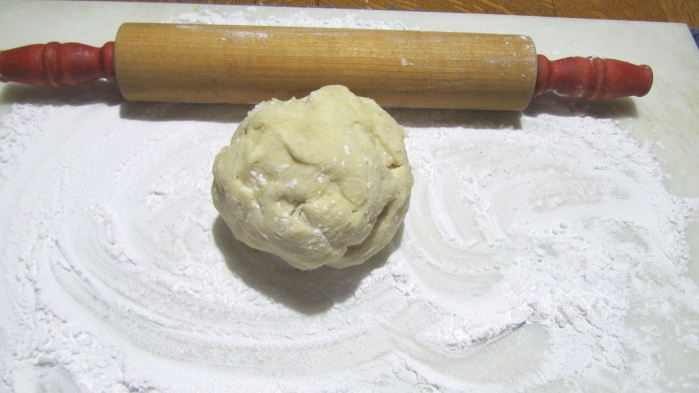
In a medium mixing bowl, using a fork, mix the ingredients together until they are in small pieces. Using your hands, gather the pieces of dough, and shape into a ball. If you want to use a food processor, pulse the main ingredients until they begin to form a ball. Remove from the processor and shape into a ball.
Divide the dough in half and shape into two flattened discs about 6-inches in diameter. Wrap with wax paper or plastic wrap and chill at least 2 hours or overnight. This helps the moisture to distribute more evenly.
When you are ready to make the pie, remove the dough from the refrigerator and allow it to warm up just enough to handle easily.
Dust the surface you are using with flour. If you are using gluten-free flour, use that or use tapioca flour, which is a lot less expensive. Tapioca flour adds extra body to help the crust hold together more easily.
Roll the crust into a circle making certain you don’t roll the dough too close to the edges or they will become too thin.
You will want a 12-inch circle for a 9 inch pie pan, or 13 if you are making a fluted edge. You will want a 13 -14 inch circle for a 10-inch pie pan. For tartlets, you want the dough circle to be 3/4 inch larger than the tartlet pan.
If the dough rips or breaks apart, don’t panic. This dough is completely forgiving. Gather it up into a ball, dust the surface and the rolling pin again, and roll it out. Don’t worry if it isn’t a perfect circle. Gently lay the pie pan top onto the pie crust to use as a guide. Using a paring knife, cut about 1/2 – 1 inch out from the pie pan, into an approximate circle.
Now, using the rolling pin, carefully roll the crust around the pin but don’t leave a flap of crust; roll it all around the pin. Carefully place it over the upright pie pan and roll it out over the pan, making sure there is ample crust all around. Now, very gently press the crust into the pan. Press the bottom into place and press down gently on the sides so that the crust is set firmly in place.
Fill the bottom crust with the filling.
Roll out the second circle and shape it as well as you can. Roll it over the rolling pin and gently place it over the pie. If you find it’s a little lopsided, gently ease the crust into place.
If you have too much pie crust, cut the extra off carefully. You will want to have enough extra crust to overlap the top crust over the bottom crust. Pinch the two together gently and tuck it under. Once the crusts have been joined, gently shape (flute) the crust edges. Finally, cut at least 6 vents in the top crust to allow steam to escape.
Place the pie in the refrigerator for two hours or until it is fully chilled.
Heat the oven to 425 degrees F.
Bring the pie out and, using a pastry brush, brush the pie gently with cool water. If you prefer, you can use milk or egg yolk.
Lightly dust the top of the pie with your choice of sugars. This step is optional but fun.
Place the pie onto a baking sheet and put into the oven. Immediately drop the oven heat to 375 degrees. Bake for 25 minutes. If your oven heat is uneven, turn the pie at least once during this time.
Lower the heat to 350 and continue baking until the contents are fully cooked and the pie is golden-brown.
Cool on a rack.